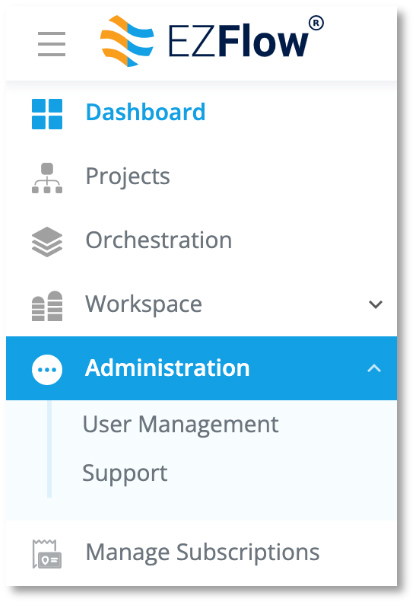
EPSoft will set up the initial account for System Admins. System Admins will then create all other users within their account. As a System Admin, you have access to administrative features that allow you to add and manage EZFlow users. Simply click Administration from the toolbar, then select User Management.
User Management
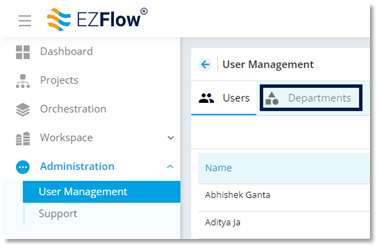
Within User Management, you can see all your users and departments. Toggle between these views at the top by clicking Users or Departments.
Adding New Users
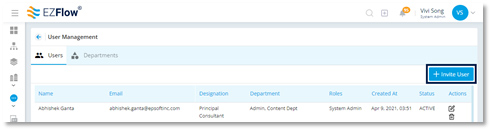
- Open Users view
- Click Invite User
- Add the new user’s email, select the role from the drop-down, assign the corresponding department, then click Invite
- Your new user will receive an invitation with a link and login credentials
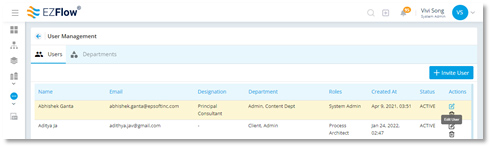
Editing Existing Users
- Open Users view
- Locate the user’s profile you want to edit
- With the user’s row highlighted, click the edit icon on the right side of the screen
- Make your changes and click Save
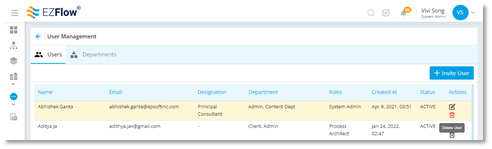
Deleting Existing Users
- Open Users view
- Locate the user’s profile you want to delete
- With the user’s row highlighted, click the delete icon in the far-right column
- Confirm you want to delete
- Your user has been deleted
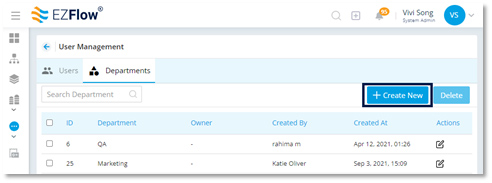
Adding New Departments
- Open Departments view
- Click Create New
- Add the department name, select the department owner from the drop-down, then click Save
- Your new department is now visible in the Departments view
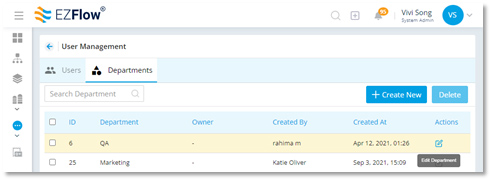
Changing Owners for Existing Departments
- Open Departments view
- Locate the department you want to edit
- With the department row highlighted, click the edit icon on the far-right column
- Make your changes and click Save
- Your changes are now visible in the Departments view
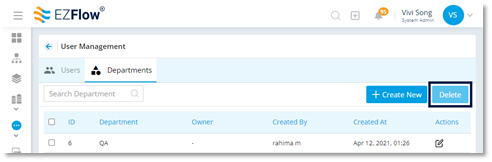
Deleting Existing Departments
- Open Departments view
- Locate the department(s) you want to delete
- Select your department(s) by clicking the checkbox on far-left column
- Click Delete in the upper right of the workspace
- Confirm you want to delete
- Your department has been deleted
Support
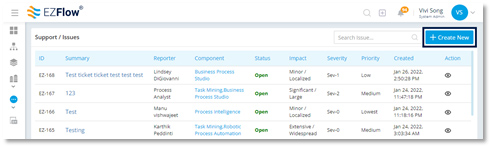
The Support section of the Administration menu is where you submit support tickets. As a System Administrator, you can view all your company’s support tickets and their statuses from this initial grid view.
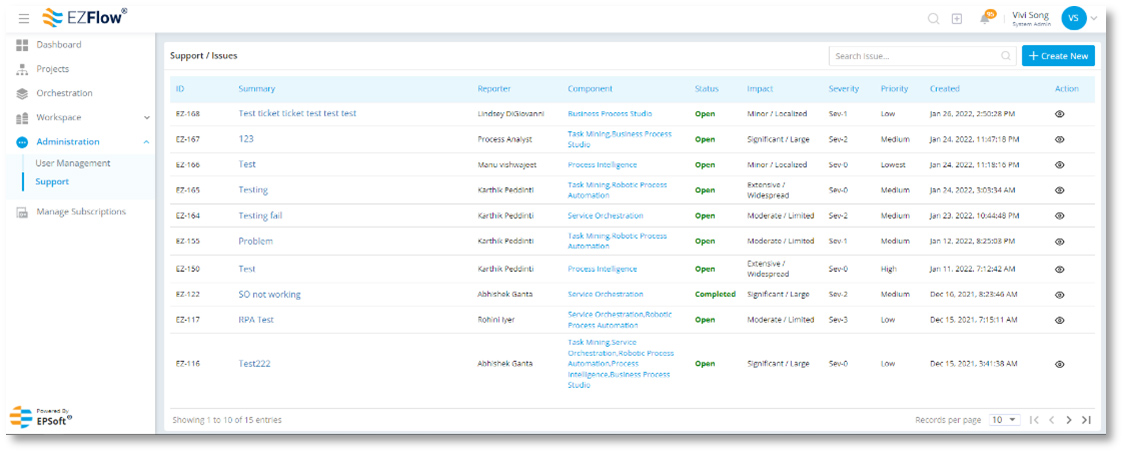
Creating a New Support Ticket
- Open Support window (from the left navigation, click Administration then Support)
- Click Create New
- Fill out the fields accordingly, attaching any pertinent files or documentation
- Click Create
- Your support ticket is now created